Step 1: Build a Board
We mapped out a board and drew it up in Creo Parametric (Figure 1)
 |
Figure 1: CAD Model of the Board, Top-Down view
|


Figure 2: 3 Separate Layers of Maze
To build the walls that encase the three boards they needed to be cut, channeled and biscuited. The walls were cut using table saw or a compound saw. Channeling is cutting out an indent into the wood (Figure 3). This helped to make the baseboard attach to the walls more securely because it can rest in the divots in the walls. It also makes gluing much easier. There are two main methods of channeling wood. The first method employs a dado set. A dado set consists of two adjacent blades that cut parallel slits into the wood at a specific distance apart. The other way that this can be done is with a regular table saw blade. The fencing is moved to a specific distance and moved to cut the wood to a specific length. Since most blades are 1/8" this may need to be done quite a few times. In order to do biscuiting (Figure 5) you need to have a biscuiter. Biscuiting is a method that connects two pieces of wood without using screws or nails. Once you have a biscuiter, the dial can be adjusted to choose the width of the cut. The cuts are associated with little pieces of wood that you glue in and connect the wood with. Biscuits work by making wood swell when it comes in contact with wood glue. This causes the pieces of wood to attach to each other since there is something connecting them. The glue also keeps them together.
 |
| Figure 4. The wood with channeling |
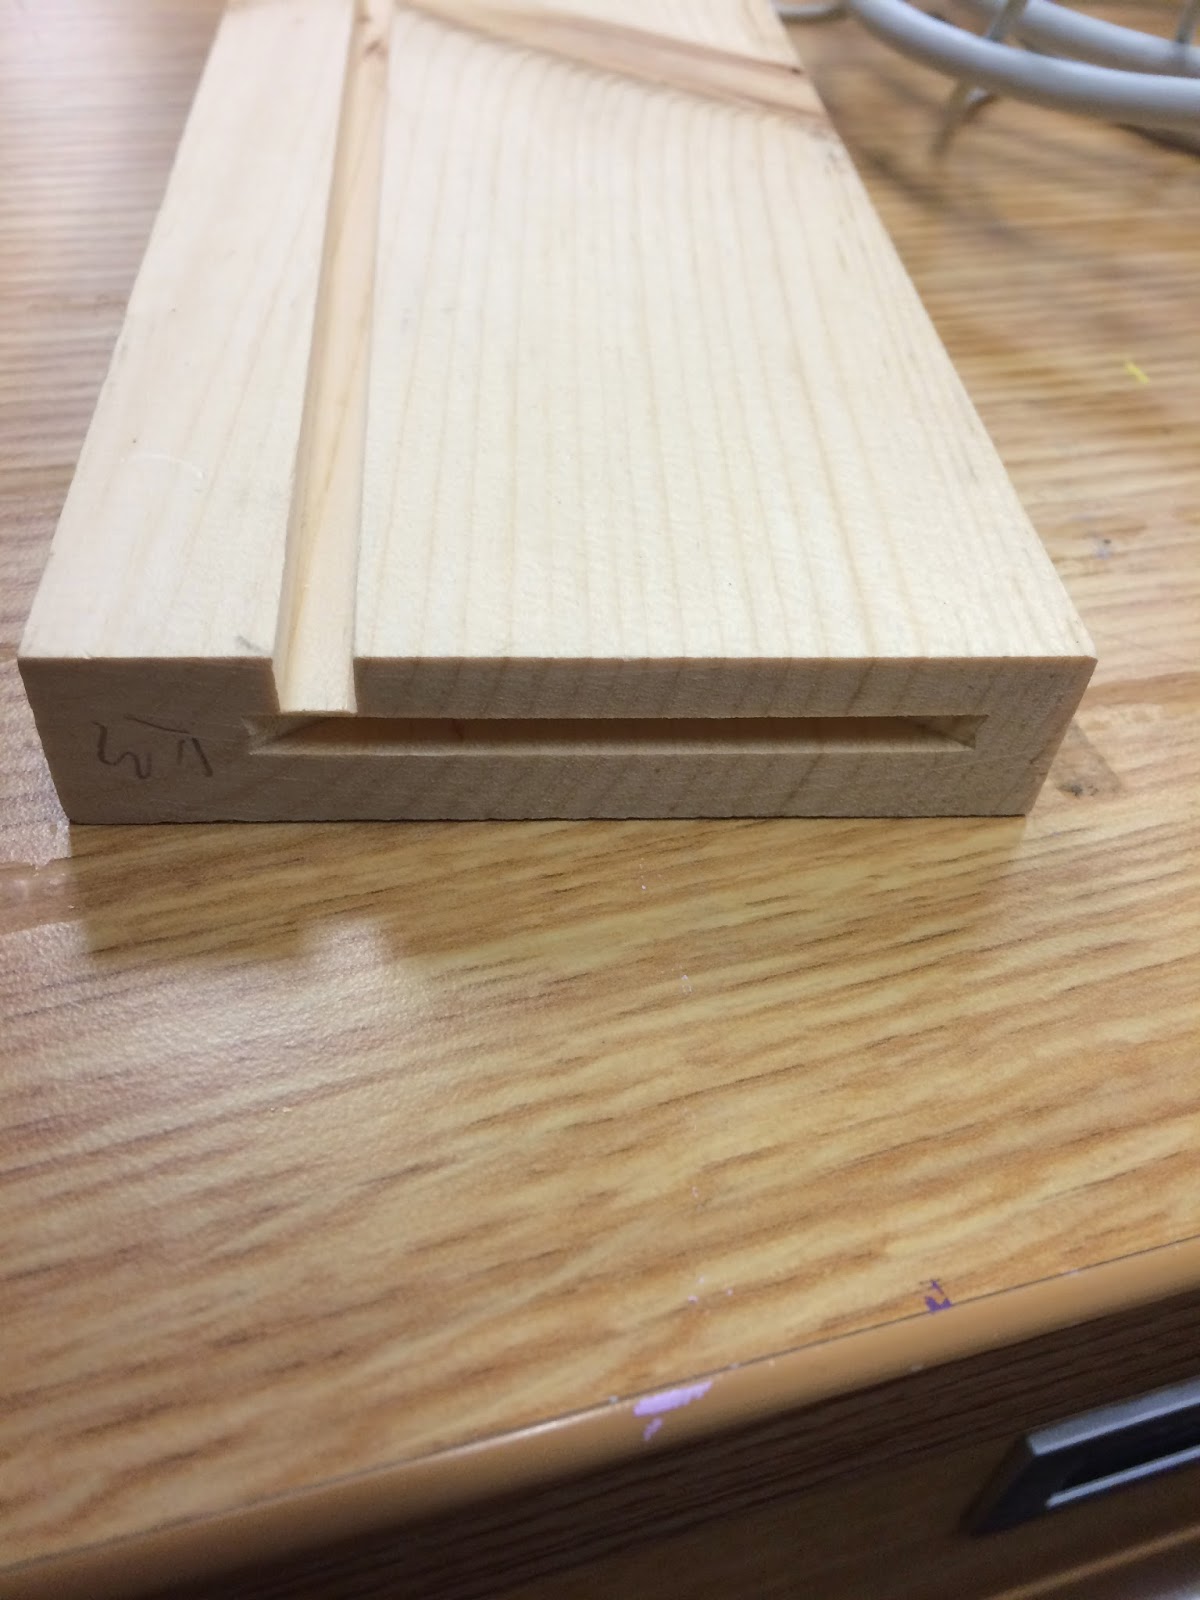 |
| Figure 5. The biscuit cut into the side of the wood |
For the sound effects, we adapted the following tutorial to our purposes: http://maxoffsky.com/maxoffsky-blog/how-to-play-wav-audio-files-with-arduino-uno-and-microsd-card/
For the light sensors that detected when the ball rolled down the ramp, we adapted the following tutorials to our purposes: http://www.learningaboutelectronics.com/Articles/Arduino-light-detector-circuit.php
No comments:
Post a Comment